


Quick answer: how does a custom appliance glass project move from prototype to production?
A reliable project moves through controlled gates: requirements review, design-for-manufacture feedback, process-feasibility samples, appearance and functional samples, production-intent pilot parts, documented approval and a frozen production control plan. Each gate answers a different question. An early sample may prove that a shape can be cut or a color can be printed, but it does not automatically prove repeatability, assembly fit, durability, packaging or shipment readiness.
The buyer and glass manufacturer should use one revision system for the drawing, print artwork, approved physical standard, test plan and packaging specification. Before mass production, the team should confirm critical dimensions, printing and optical limits, sample status, appliance-level validation, inspection methods, change-control rules and shipment records. This staged approach reduces the risk of approving an attractive sample that cannot be reproduced consistently.
Why a good first sample is not a production release
Custom appliance glass combines several processes. A typical route may include cutting, CNC processing, edge finishing, drilling, washing, printing, tempering, coating, inspection and protective packing. Each step can affect the next. A change in edge geometry can influence tempering risk; a print layer can influence optical appearance or bonding; a coating can change color and cleaning behavior; a protective film can affect final inspection.
Prototype work is often performed with extra attention, manual selection or temporary tooling. Production introduces normal material variation, repeated furnace loading, screen wear, fixture use, operator changes and shipment quantities. The purpose of a pilot is not to make another beautiful sample. It is to show that the released process can repeatedly produce acceptable parts under representative factory conditions.
For projects that use formal launch systems, AIAG's current APQP manual describes gated planning, sourcing, risk mitigation, change management and traceability. Appliance programs do not automatically require automotive APQP or PPAP, but the principle is useful: define evidence for each release gate instead of relying on informal approval.
Stage 1: build a complete input package
The project should begin with the appliance application, not only a glass outline. Send the glass supplier enough information to understand interfaces and risks:
- controlled 2D drawing with dimensions, datums and tolerances;
- 3D assembly data where the glass interfaces with a housing;
- print artwork with color, opacity, gloss and registration requirements;
- glass type, nominal thickness and strengthening condition;
- coating, display-window, touch or bonding requirements;
- visible and hidden cosmetic zones;
- operating, storage and cleaning environment;
- appliance-level validation requirements;
- target annual demand, expected batch pattern and destination;
- packaging, labeling and traceability expectations.
If requirements are not final, identify them as open items. An explicit open-item list is safer than allowing the supplier to make silent assumptions. Our appliance glass RFQ checklist explains what belongs in the first quotation package.
Align the revision system before sampling
Use a unique part number and revision for the drawing and print artwork. Record which files control geometry, decoration and inspection. A filename such as “final-new-2” is not revision control. The sample label, inspection report and approval record should refer to the same revision.
When a physical master is needed for black depth, metallic appearance, gradient printing or a dead-front effect, give it an identifier and storage condition. A master without a linked digital specification can become an uncontrolled reference.
Stage 2: design-for-manufacture review
The glass manufacturer should review the inputs before committing to tooling or a delivery date. The review should cover:
- feasibility of external shape, holes, slots, radii and edgework;
- distance between holes, cutouts and edges;
- capability of the requested dimensional and print-registration tolerances;
- sequence of printing, tempering and coating;
- screen, mask, fixture or gauge requirements;
- display and touch interfaces;
- risk of color variation across the final optical stack;
- assembly, bonding and sealing zones;
- cosmetic inspection conditions;
- pack orientation and exposed-edge protection.
Questions and proposed changes should be documented. A DFM response is not permission to modify the customer drawing; it is an engineering proposal that requires buyer approval. See the detailed drawing and tolerance guide for datum and feature-control principles.
Separate “must meet” from “target”
Some dimensions or optical values are critical to function; others are preferences or early targets. Marking every feature as critical can increase inspection and manufacturing cost without improving the appliance. Marking nothing as critical leaves the supplier unable to prioritize controls. The project team should agree which characteristics affect fit, safety, display readability, touch response, sealing and appearance.
Stage 3: select the right prototype type
Not every sample should attempt to prove everything. A staged sample plan is faster when each build has a defined purpose.
| Sample type | Main question | Typical evidence |
|---|---|---|
| Geometry sample | Does the shape fit and can it be fabricated? | Dimensional report, edge and hole review, assembly check |
| Decoration sample | Can color, opacity, icons and windows be achieved? | Artwork revision, appearance review, optical comparison |
| Functional sample | Does the glass work with display, touch, bonding and appliance environment? | Assembly results and project-specific test records |
| Production-intent sample | Can released materials, tooling and sequence produce the design? | Full inspection and process traceability |
| Pilot lot | Is the process repeatable at representative quantity? | Capability evidence, yield review, control-plan verification |
Rapid mockups made from untempered or differently printed glass can support fit or appearance decisions, but they must be clearly labeled. They should not be used as evidence of final strength, edge quality, color after firing or appliance durability.
Stage 4: approve geometry and assembly fit
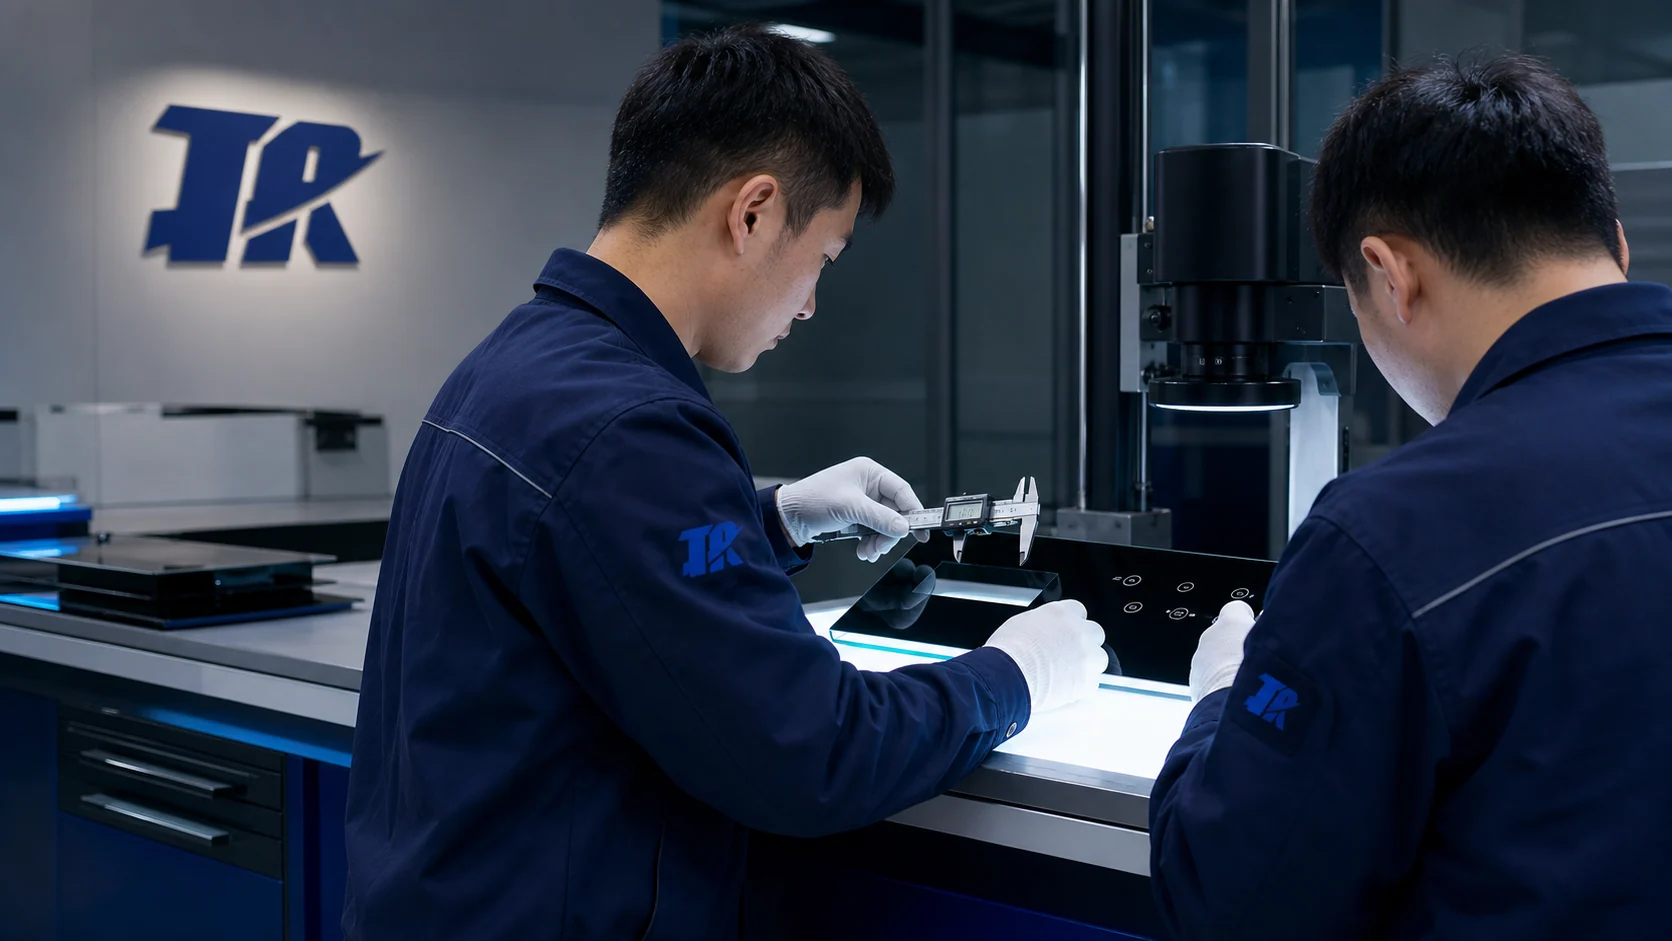
Measure dimensions from the drawing datums, not from convenient edges chosen during inspection. Confirm:
- overall length, width and profile;
- hole, slot and cutout position;
- corner and internal radii;
- edge type and visible edge quality;
- bow or flatness using an agreed support and method;
- print position relative to functional geometry;
- clearance to frames, clips, displays, sensors and adhesive paths.
Installation preparation matters. Assembly parts should be at representative condition, and fixtures should not force glass into position. A panel that fits only when flexed or clamped may store stress and create later breakage or lifting. Record the mating-part revision used for the fit check.
Stage 5: approve appearance and optical performance
Digital artwork does not fully predict the appearance of ink on glass. Color depends on the substrate, ink thickness, firing or curing, backing, adhesive, display and inspection light. Approve the finished decorated glass under defined conditions.
The appearance plan should state:
- viewing side and surface orientation;
- light source and observation distance;
- powered-off and powered-on display conditions;
- approved color or physical boundary standard;
- opacity and light-leakage limits;
- gloss, texture and metallic direction;
- acceptable cosmetic zones and defects;
- measurement points and instruments when numerical values apply.
For display windows, validate the production-intent display and backing rather than judging an isolated transparent area. The display-window optical specification guide explains how to coordinate transmission, haze, color and masking.
Stage 6: complete functional and durability validation
Component inspection shows whether the glass was made to specification. It does not approve the complete appliance. The buyer should own the final validation plan, with input from the glass, adhesive, display and appliance teams.
Depending on the application and customer requirements, validation may address:
- impact or static load in the installed condition;
- door, lid or button operating cycles;
- thermal exposure or temperature cycling;
- humidity, condensation, steam or grease;
- detergents and household cleaning chemicals;
- abrasion or repeated wiping;
- print, coating or adhesive compatibility;
- touch sensitivity and electromagnetic environment;
- display readability across viewing angles;
- vibration and transport loads;
- packaging and simulated distribution handling.
Use a test matrix that links each requirement to specimen revision, quantity, method, acceptance criterion and result. Avoid writing “pass thermal test” without identifying the assembly, cycle, temperature profile and inspection after exposure.
Treat failures as development information
A failed sample does not always mean the concept is impossible. Preserve the part, identify the failure location, review the process record and change one controlled variable where possible. Document the corrective action and repeat the affected validation. Do not quietly substitute a new ink, coating, adhesive or glass thickness while keeping the same revision.
Stage 7: build a production-intent pilot
Pilot parts should use the intended substrate, approved decoration, released tooling, actual gauges, normal production equipment and planned packaging. The lot should be large enough to expose normal process variation, but the appropriate quantity depends on project risk and customer requirements. There is no universal pilot quantity.
During the pilot, review:
- material and consumable traceability;
- incoming inspection status;
- process settings and work instructions;
- first-piece approval;
- critical-dimension and print-registration results;
- appearance yield and defect Pareto;
- tempering or coating observations;
- gauge repeatability for important checks;
- pack-out time and handling damage;
- deviations, rework and scrap disposition.
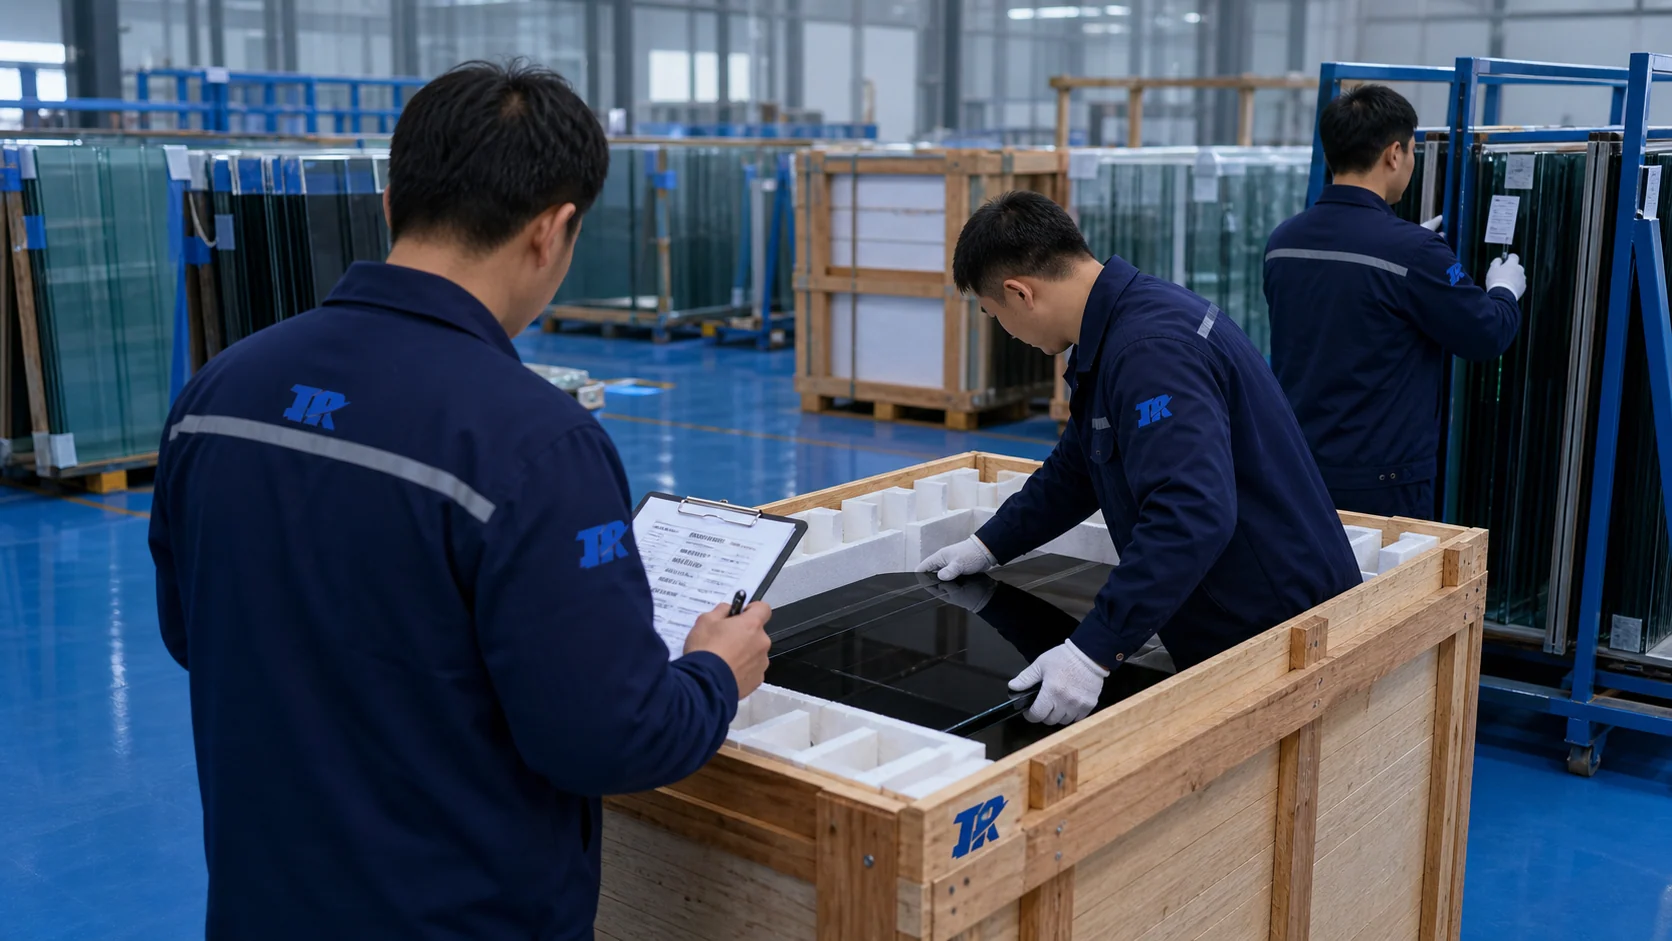
Factory testing should be representative, not theatrical. Select records that show how the process is controlled across the lot. A shipment inspection after all manufacturing and packing steps can confirm identity, quantity, labeling, surface condition and package integrity, but it cannot replace process control.
Stage 8: freeze the production package
Mass production should not begin until the parties know what “approved” means. The released package normally includes:
- approved drawing and artwork revisions;
- material, thickness, strengthening and surface specification;
- approved appearance master or numerical limits;
- critical characteristics and inspection methods;
- appliance validation status;
- production flow and key work instructions;
- control plan and inspection frequency;
- approved packaging, label and pallet configuration;
- traceability and record-retention expectations;
- change-notification and deviation-approval rules.
ISO 9001 provides a general quality-management framework for controlled processes, customer requirements and improvement. The exact documents required for a glass project remain customer-specific; certification alone is not evidence that a particular panel has been validated.
Managing engineering changes after approval
Changes should be evaluated by effect, not by whether they look small. A new ink batch source, furnace route, glass thickness, coating supplier, screen mesh, protective film, cleaner, packaging separator or inspection method can alter performance or appearance.
The change request should state:
- reason for change;
- affected part and document revisions;
- comparison with the approved state;
- risk assessment;
- samples and tests required;
- implementation date and lot traceability;
- disposition of old material and mixed inventory;
- customer approval status.
For an urgent deviation, define the exact quantity or shipment covered. A one-time concession must not become an undocumented permanent process change.
Buyer launch checklist
Before authorizing mass production, ask:
- Are drawing and artwork revisions identical across the purchase order, sample and inspection report?
- Has the glass been checked in the actual appliance assembly?
- Are display, touch, bonding and cosmetic requirements approved?
- Have project-specific durability tests been completed on production-intent parts?
- Are critical characteristics linked to measurable methods?
- Has a pilot lot demonstrated repeatability?
- Are boundary samples and golden samples controlled?
- Is the production control plan released?
- Has export packaging been approved with real parts?
- Are change-notification responsibilities clear?
- Does shipment inspection report the required traceability?
If any answer is no, release only the work that is supported by evidence. A controlled additional sample stage is usually less costly than correcting field or assembly failures later.
FAQ
How many appliance glass prototypes are required?
There is no universal number. Quantity depends on the number of assembly builds, destructive tests, appearance variants, measurement needs and project risk. Define specimens by test purpose and include replacements for agreed retesting.
Can a prototype be made without production tooling?
Sometimes, especially for geometry or appearance exploration. The sample must be labeled with its temporary process limitations. Final approval should use production-intent materials, tooling and process sequence.
What is a golden sample?
It is a controlled physical reference linked to a part number and revision. It can clarify appearance that is difficult to express numerically, but it should complement—not replace—the drawing, artwork and inspection conditions.
When should the OEM approve mass production?
After the production-intent design, assembly validation, pilot evidence, control plan and packaging are approved. A visually acceptable first sample alone is insufficient.
Does appliance glass require PPAP?
Only when the customer, industry or contract requires it. Many appliance projects use a simpler approval package. The useful principle is to define required evidence and change control before release.
What should accompany the first production shipment?
Customer requirements vary, but useful records can include part and revision identification, lot traceability, agreed inspection results, quantity, packaging status and approved deviation references if any.
Conclusion
Successful appliance glass development is a sequence of evidence-based decisions. Geometry, appearance, function, durability, repeatability and logistics should be approved at the appropriate stage. The most reliable programs keep drawings, artwork, physical standards, assembly parts, test results and factory controls under one revision system.
This process gives purchasing teams a clearer basis for supplier approval and gives engineering teams faster feedback when requirements change. It also prevents a common mistake: treating one carefully prepared sample as proof of stable mass production.
Start a controlled appliance glass sample project
Tairong manufactures custom glass for appliance control panels, ovens, washing machines and other approved applications. Send your drawing, artwork, target quantity and validation requirements for a manufacturability review and a staged sample proposal. Final performance requirements and appliance approval remain defined by the customer project.