
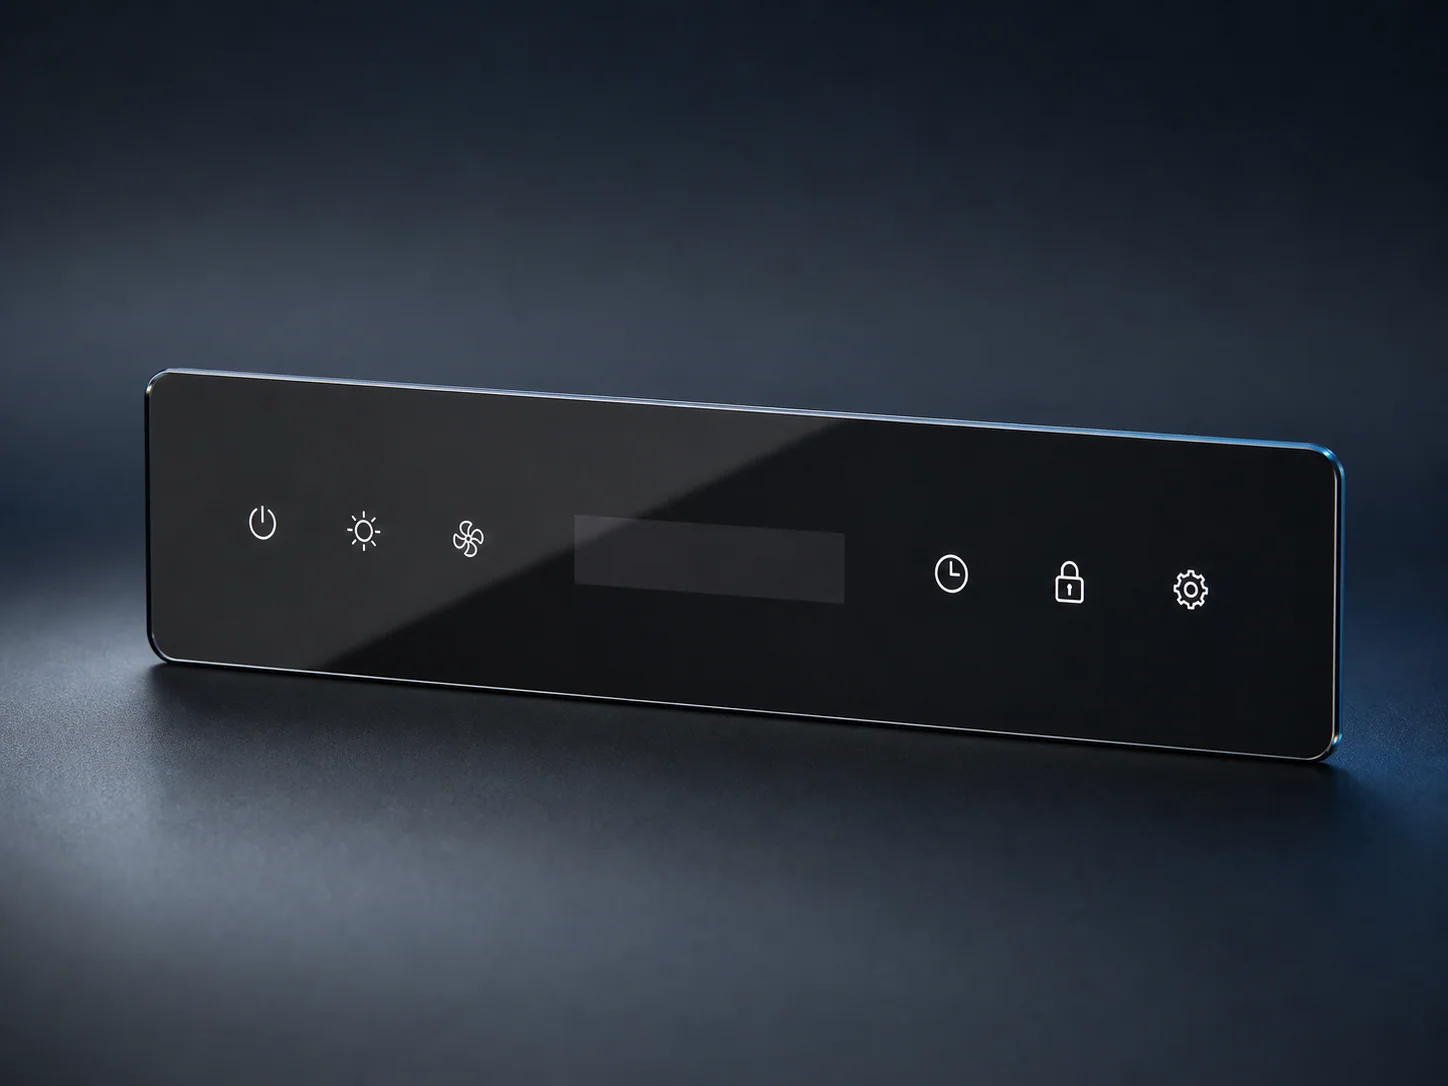
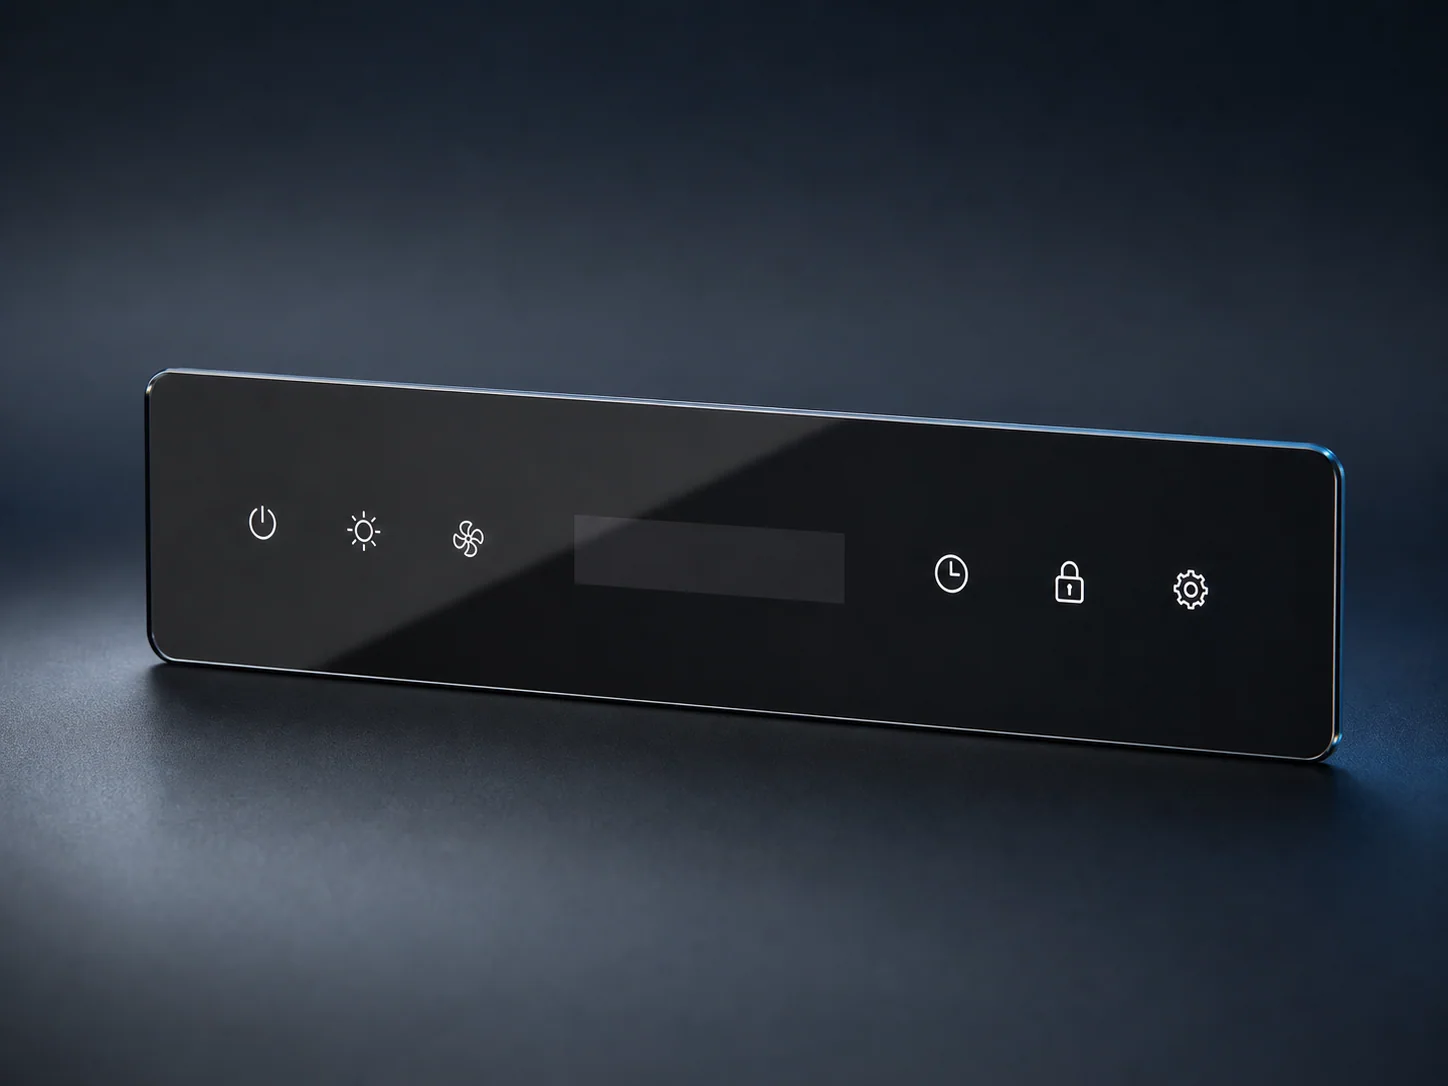
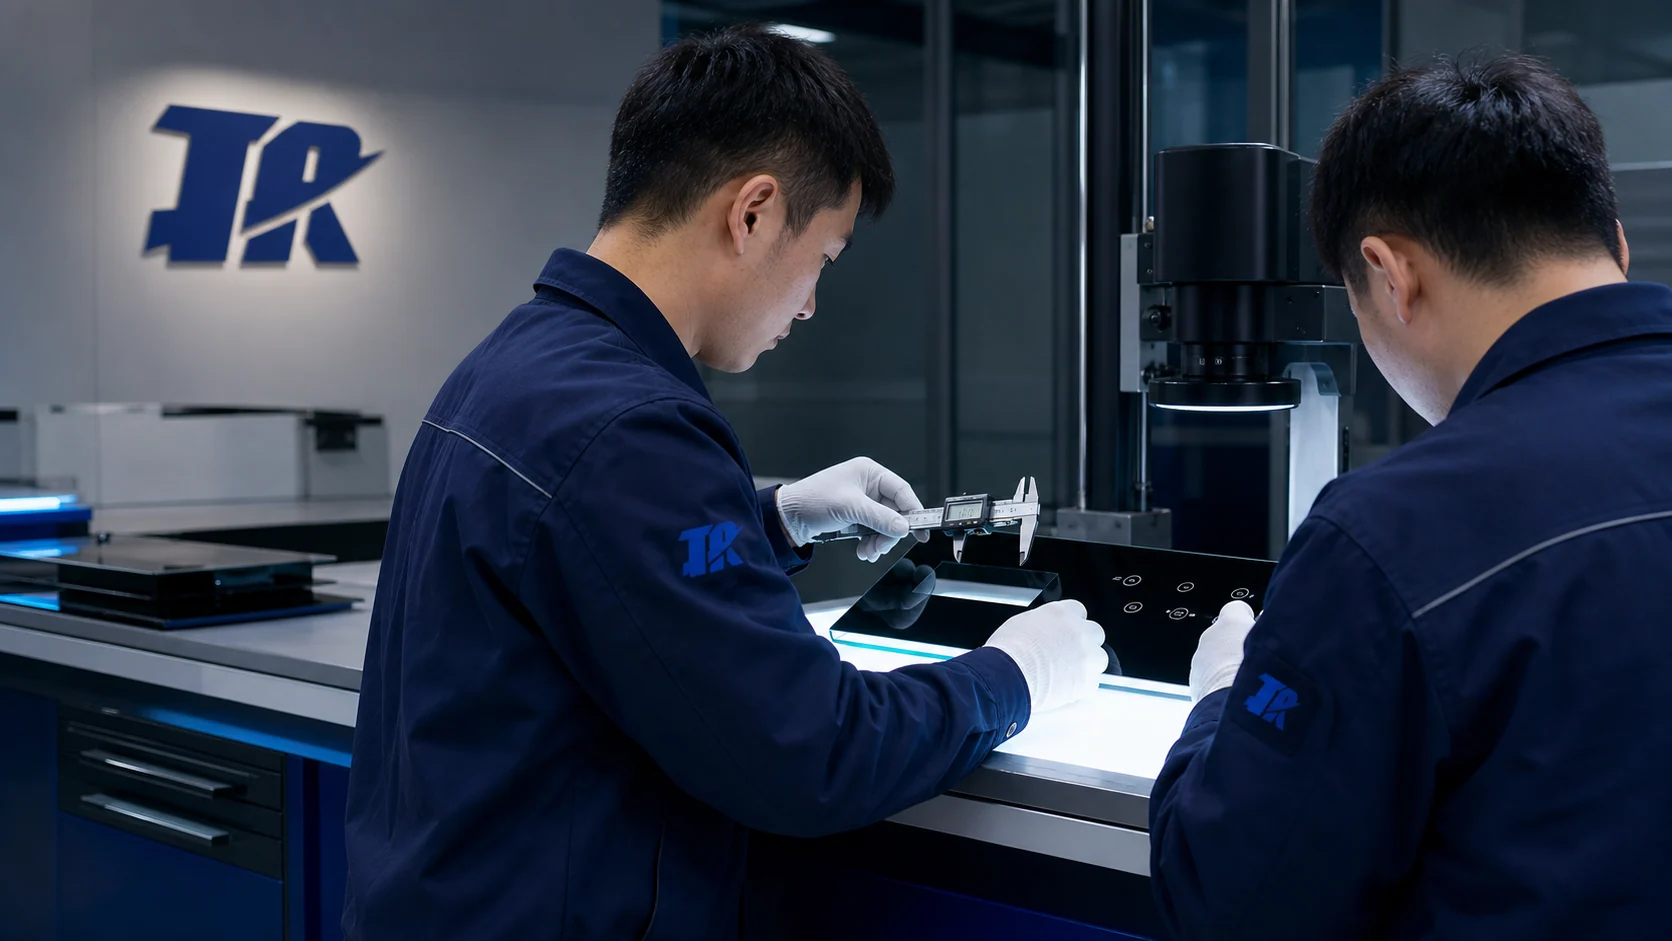

Printing on appliance glass is not merely decoration. It can hide electronics, define a display window, create touch icons, carry a logo and establish the visual quality of the finished product. A printing method that produces an attractive sample may still be unsuitable for the required durability, color repeatability, annual volume or inspection method.
Two processes frequently enter the discussion: screen printing and digital printing. Neither is automatically superior. The right choice depends on the ink system, glass substrate, strengthening process, artwork, batch size, optical requirements and the environment of the appliance.
This guide explains the decision from an OEM perspective. It focuses on the questions engineers and sourcing managers should resolve before tooling and sample approval.
Quick answer: which printing method should an appliance OEM choose?
Choose the process according to the finished-part requirement:
- Silk-screen printing is often a strong option for repeat production, solid colors, opaque borders, icons and controlled functional windows.
- Digital printing can be attractive for complex graphics, variable designs, gradients, many colors or projects where avoiding a separate screen for each design is valuable.
- Ceramic and organic ink systems behave differently. The words “screen” and “digital” describe application methods, not complete durability specifications.
- Validate the process on the final glass stack. Color, opacity, adhesion, backlighting and touch performance must be assessed after all relevant processing.
For many appliance control-panel projects, the decision is not “screen or digital” in isolation. It is a complete route: glass + pretreatment + ink + curing or firing + tempering sequence + inspection method.
1. How silk-screen printing works
In screen printing, ink passes through open areas of a prepared mesh onto the glass. Each screen carries a defined image, and production parameters control ink deposit and registration.
A typical custom appliance-glass workflow may include:
- Cut, drill and edge the glass.
- Clean and prepare the surface.
- Align the glass and screen in a fixture.
- Print one color.
- Dry or cure according to the ink system.
- Repeat for additional colors where required.
- Temper or otherwise process the glass according to the validated route.
- Inspect color, position, opacity and surface quality.
Screen printing is well suited to repeated geometry. Once the screen, fixture and process settings are approved, it can provide stable coverage across a production batch. It is commonly considered for black borders, logos, legends, touch icons and masking layers.
What determines screen-print quality?
Important variables include:
- Mesh specification.
- Screen tension and condition.
- Emulsion and artwork quality.
- Squeegee hardness, angle, pressure and speed.
- Ink viscosity and mixing.
- Glass cleanliness.
- Fixture position.
- Drying, curing or tempering conditions.
- Ambient process control.
A change in one variable can affect color density, edge definition, pinholes or registration. Therefore, an approved sample should be linked to a documented production route rather than treated as an isolated visual result.
2. How digital printing works
Digital systems apply an image from electronic artwork without a conventional patterned screen. Depending on the technology, inks may be ceramic, UV-curable or another formulation designed for a particular substrate and use.
Digital printing can support:
- Complex multi-color graphics.
- Gradients or photographic effects.
- Variable artwork.
- Short runs with frequent design changes.
- Rapid artwork iteration.
- Designs that would otherwise require several screens.
However, the term “digital printing” does not guarantee a specific resistance to heat, chemicals, abrasion or outdoor exposure. Ask which ink system, curing process and adhesion mechanism are proposed.
Digital ceramic printing can deposit ceramic inks that are subsequently fired with the glass process. Other digital systems may cure at lower temperatures and remain a surface coating. Each route has different visual and performance characteristics.
3. The most important distinction: ink chemistry
Procurement comparisons sometimes focus on machine type while ignoring ink chemistry. That is a mistake. A screen printer can apply different classes of ink, and a digital printer can also use different formulations.
Ceramic ink
Ceramic ink or frit is processed at elevated temperature so that the decoration becomes strongly integrated with the glass surface. It is often considered where durable, repeatable decoration is needed. The exact firing and tempering compatibility must be validated for the glass and color.
Potential considerations include:
- Color may change during firing.
- Some colors are more difficult to reproduce than others.
- The process sequence may combine decoration and thermal strengthening.
- Printed and unprinted areas can respond differently during heating.
- Fine optical requirements still need project-specific testing.
Organic or UV-curable ink
Lower-temperature ink systems may offer broader color options or compatibility with already processed glass. Their suitability depends on adhesion, scratch exposure, cleaning chemicals, heat and whether the print is protected behind the glass.
For second-surface decoration inside an appliance assembly, direct abrasion may be limited. Even then, cleaning agents, adhesive contact, humidity and heat can matter. State the real exposure and test it.
4. Compare the two methods by OEM decision criteria
Artwork complexity
Screen printing performs efficiently with solid colors, repeated icons and defined masks. Each color usually introduces another screen and registration step.
Digital printing becomes more attractive as artwork complexity, color count or variation increases. It can reproduce gradients and complex images without preparing a separate screen for each color separation. This advantage only matters if the finished appearance and performance meet the project requirement.
Color and repeatability
Both processes can produce controlled color, but control methods differ. Screen printing relies on ink batch, viscosity, deposit thickness, screen condition and processing. Digital printing relies on printhead condition, color management, ink, resolution and curing or firing.
For either process:
- Approve color through the final glass.
- Define substrate and backing.
- Agree on lighting and viewing angle.
- Retain master samples.
- Control production by measurable parameters where practical.
Do not approve brand color from a monitor screenshot. Digital files do not represent how light interacts with glass, ink and the assembly behind it.
Opacity and masking
Appliance panels often need opaque borders to hide adhesive, sensors, wiring or structural components. Screen printing is commonly effective for controlled solid coverage. Depending on ink and target opacity, more than one layer may be considered.
Digital printing can also create masking layers, but the proposed system should be evaluated for density, uniformity and pinholes. Ask to inspect samples over a bright light source because defects invisible on a white table may become obvious when the product is illuminated.
Display windows and dead-front effects
A dead-front window looks dark when the display is off and transmits information when it is on. It requires coordination among:
- Glass tint.
- Printed ink and thickness.
- Window pattern or optical layer.
- Display brightness and color.
- Air gap and adhesive.
- Viewing angle.
- Ambient light.
Neither screen nor digital printing alone guarantees the effect. Build a representative optical stack and inspect it in powered-off and powered-on states.
Fine lines and small text
Both methods have practical resolution limits. Fine icons that look perfect in a vector file may lose definition because of mesh, ink flow, printhead resolution, glass surface or firing.
Ask the supplier to perform a design-for-manufacturing review of:
- Minimum positive line width.
- Minimum negative gap.
- Smallest text height.
- Registration between colors.
- Distance between print and glass edge.
- Alignment to holes, displays and touch sensors.
Use production-equivalent samples before freezing the user-interface artwork.
Batch size and design variation
Screen printing includes screen preparation and setup. It can become efficient when the same artwork is repeated in a stable batch.
Digital printing reduces conventional screen requirements and can be useful for shorter runs, multiple variants or frequent artwork changes. But machine time, ink coverage, curing and inspection still contribute to cost. Do not assume digital is always cheaper for low volume or screen printing is always cheaper for high volume; request a quote based on real artwork and forecast.
Lead time
Digital printing can reduce screen-preparation steps, which may help during rapid artwork iteration. Screen printing can be very efficient after screen and fixtures are approved.
Overall lead time also includes:
- Drawing review.
- Glass fabrication.
- Ink confirmation.
- Color sampling.
- Tempering or curing.
- Functional testing.
- Customer approval.
Selecting a fast printing process does not compensate for unclear artwork or repeated color changes.
Cost
Compare total project cost rather than only unit print cost. Include:
- Screen or setup charges.
- Fixture requirements.
- Number of colors.
- Ink coverage.
- Glass scrap risk.
- Inspection time.
- Artwork variants.
- Sample iterations.
- Expected order quantity.
- Changeover frequency.
A process with a higher setup cost may have a lower stable production cost. A flexible process may reduce inventory or variant tooling. The business case depends on the product program.
5. First-surface vs second-surface printing
The printed surface location can be more important than the application method.
First-surface printing
The user can directly touch or clean the print. This may be necessary for a specific visual or tactile effect, but it exposes the decoration to abrasion and chemicals. Test the exact ink and cleaning conditions.
Second-surface printing
The artwork is printed on the rear side and viewed through the glass. The glass protects it from direct contact and provides a smooth user-facing surface. This is common for appliance fascias, but it introduces optical effects:
- Glass color influences perceived print color.
- Reflection can affect contrast.
- Print-to-feature alignment is viewed through the thickness.
- Adhesive or housing color behind the print can change appearance.
State the viewing side on the drawing. Mirrored artwork errors are surprisingly easy to create when the source file does not clearly identify print and viewing directions.
6. Process sequence and tempering
All cutting, drilling and edge processing for fully tempered glass must be completed before tempering. When ceramic decoration is involved, the print and thermal process may be coordinated so the ink is fired during heat treatment.
The manufacturer should confirm:
- Whether printing occurs before or after strengthening.
- Whether the ink is compatible with the thermal cycle.
- Whether print coverage can influence heating uniformity.
- Which side contacts rollers or fixtures.
- How distortion, bow and roller wave are evaluated.
- How printed glass is handled between operations.
Do not request a late hole change on an already tempered panel. It normally requires manufacturing new glass from the pre-tempering stage.
7. Testing a printed appliance glass panel
Testing should match actual customer requirements. A useful validation plan may include:
Visual inspection
- Color compared with approved master.
- Registration to glass features.
- Pinholes and contamination.
- Edge definition.
- Uniformity of solid coverage.
- Powered-on and powered-off display appearance.
Adhesion testing
Select a method appropriate to the ink and product requirement. Record the sample preparation, conditioning and acceptance rule.
Chemical and cleaning resistance
Test representative household cleaners, oils or chemicals expected in the use environment. Define concentration, contact time, wiping material, cycles and post-test evaluation.
Abrasion or scratch exposure
If the print is user-facing, evaluate realistic contact. If it is second-surface, direct abrasion may not represent the assembly, but handling before assembly can still matter.
Thermal and environmental testing
Use the appliance engineering plan for temperature, humidity, cycling and dwell time. Avoid publishing or accepting a generic maximum temperature without evidence for the exact material and construction.
Functional optical testing
Measure or approve:
- Display transmission.
- Icon brightness.
- Contrast.
- Color shift.
- Uniformity.
- Touch response through the final stack.
8. From sample approval to mass production
An attractive lab sample is only the beginning. Production release should document:
- Approved drawing and artwork revision.
- Glass source and thickness.
- Ink reference and mixing controls.
- Printing machine and fixture.
- Process sequence.
- Approved master color sample.
- Inspection lighting and defect limits.
- Test frequency.
- Packaging that protects the printed surface.
During factory testing, inspectors should verify the first pieces after setup before continuing the batch. In-process checks can identify drift in registration, ink deposit or color before many parts are produced.
Before shipment, use the agreed sampling plan to inspect appearance, critical dimensions, labels and packaging. If the project contains several similar artwork variants, barcode or batch controls help prevent mixed parts.
9. Questions to ask a printing supplier
Ask these questions before approving the route:
- Which glass and ink system are proposed?
- Is the print first-surface or second-surface?
- Does printing occur before or after tempering?
- What artwork format and minimum feature sizes are required?
- How are color and opacity approved?
- How many screens, passes or layers are expected?
- How is multi-color registration controlled?
- Which durability tests are supported?
- How are display windows inspected under backlight?
- What process parameters are controlled during mass production?
- How are artwork revisions and similar variants separated?
- What documentation accompanies shipment inspection?
The supplier should answer with a process proposal, not only a general claim that the print is “permanent” or “high quality.”
Practical selection matrix
| Requirement | Screen printing may fit when | Digital printing may fit when |
|---|---|---|
| Artwork | Solid colors, icons, borders and repeated masks | Complex graphics, gradients or many variants |
| Volume | Stable repeat batches | Shorter or variable batches |
| Color count | Limited colors | Many colors or frequent artwork changes |
| Opacity | Controlled solid masking is central | Proposed system proves required density |
| Tooling | Screens and fixtures are acceptable | Avoiding conventional screens is valuable |
| Durability | Validated ink and firing route meet tests | Validated digital ink and cure/firing meet tests |
| Change management | Artwork is stable | Variants change regularly |
This table is a starting point, not a substitute for sample validation.
FAQ
Is silk-screen printing more durable than digital printing?
Not by definition. Durability depends on ink chemistry, glass preparation, curing or firing, surface location and exposure. Compare validated finished parts, not process names.
Can appliance glass be printed after tempering?
Some lower-temperature ink systems can be applied to already tempered glass, but their performance and appearance must be validated. Ceramic decoration is often coordinated with a high-temperature process. Drilling or cutting after tempering is not an acceptable way to change geometry.
Which process is better for a black appliance control panel?
Screen printing is frequently used for black borders, icons and masks, particularly in repeat production. Digital printing may be suitable for complex graphics or variants. The correct choice depends on opacity, display windows, color, volume and durability testing.
How do we prevent pinholes in opaque black printing?
Control glass cleanliness, ink condition, deposit, screen or printhead process and inspection. Inspect against a controlled backlight. If opacity is critical, define measurable or visual acceptance limits rather than relying on ordinary room-light inspection.
Can one panel combine printing methods?
Hybrid processing may be technically possible, but each additional route increases alignment, compatibility and quality-control requirements. Use it only when the functional value justifies the complexity.
How should a display window be approved?
Approve it in a representative assembly with the final display, air gap, adhesive, lighting and viewing conditions. Record both powered-off and powered-on acceptance.
Conclusion
The printing decision for appliance glass should begin with the user experience and end with a controlled production process.
Use screen printing when its repeatability, solid coverage and production economics fit the artwork and volume. Consider digital printing when complexity, variation or rapid artwork changes create real value. In both cases, specify ink chemistry, print surface, process sequence, optical requirements and validation tests.
The best process is the one that consistently produces the approved appearance and function through factory production, assembly, cleaning and the expected appliance environment.
CTA: Review your artwork before sampling
Send Tairong your glass drawing, vector artwork, target colors, powered-on display reference and forecast volume. We can review the manufacturing questions that should be resolved before a printed-glass sample is prepared.
Primary CTA: Send Your Requirements
Secondary CTA: Ask for Product Catalog